Ever stood in the electronics aisle, staring at $200 smart speakers that do everything—tell jokes, order toilet paper, recite Shakespeare—and thought, “But can it play my cat’s purr on loop?” Or worse: you tried building a speaker from a TikTok hack using soda cans and copper wire… only to end up with a faint buzzing that sounded like a mosquito trapped in a tin can?
If you’ve ever wondered how to build a simple speaker without needing a PhD in acoustics or selling a kidney for parts, you’re not alone. And guess what? You absolutely can—using basic components, under $30, and yes, actual working physics (not witchcraft).
In this hands-on guide, we’ll walk you through the real science, practical steps, and common pitfalls of DIY speaker construction. You’ll learn why cone material matters more than you think, how electromagnetism turns electricity into sound, and whether your homemade speaker could ever rival an Echo Dot (spoiler: not for Alexa—but maybe for soul).
Table of Contents
- Why Bother Building a Speaker When Amazon Sells Them?
- Step-by-Step: How to Build a Simple Speaker
- 5 Pro Tips That Actually Matter (No Fluff)
- Real Project Example: My Coffee Can Speaker That Played Bowie
- FAQs About DIY Speakers
Key Takeaways
- A functional speaker requires just 4 core components: magnet, voice coil, diaphragm, and enclosure.
- You don’t need soldering skills for a basic version—paper clips and glue work in a pinch.
- Sound quality depends heavily on cone stiffness, magnet strength, and air-tight sealing.
- This isn’t about replacing your Sonos—it’s about understanding how sound is born from electricity.
- Safety first: always use low-voltage audio sources (like a phone headphone jack, not mains power!).
Why Bother Building a Speaker When Amazon Sells Them?
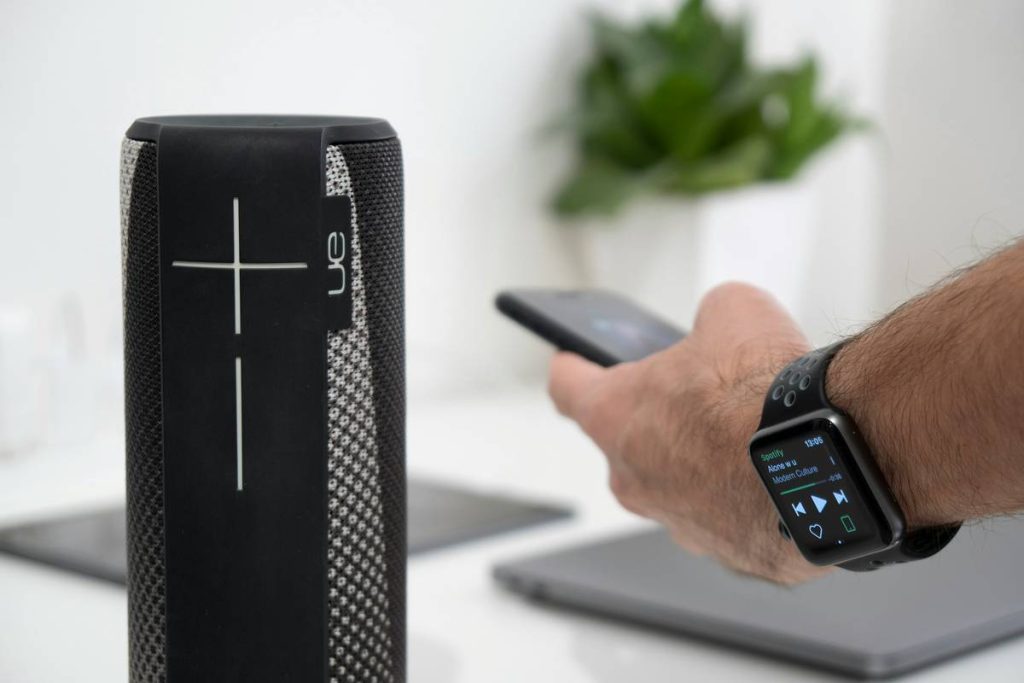
Let’s be honest: no one builds a speaker because they want better bass than a $150 Google Nest Audio. You do it because you’re curious. Because you once unscrewed your Bluetooth speaker and found a tiny coil wrapped around a magnet—and thought, “Wait… how does this make Marvin Gaye sing?”
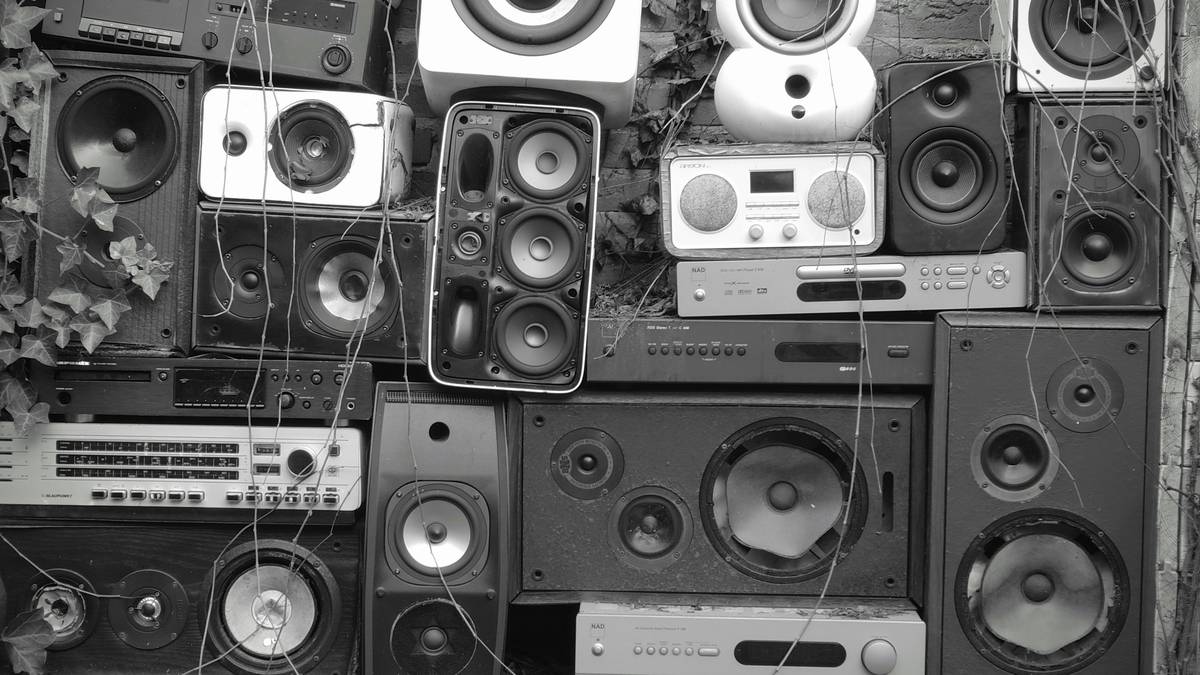
Understanding speaker fundamentals demystifies smart home audio. After all, every Alexa, HomePod, or Sonos starts with the same core physics discovered by Johann Philipp Reis in 1861. According to IEEE historical records, early speakers used iron needles and parchment—proof that innovation often begins with scrap.
I learned this the hard way during my first attempt: I glued a neodymium magnet to a plastic cup, wound enameled wire around a pen, connected it to my laptop’s headphone out… and got nothing but a faint hum. Turns out, I’d forgotten the most critical piece: a flexible diaphragm that actually moves air. Without movement, there’s no sound—just wasted electrons.
Today’s smart speakers pack DSP chips, far-field mics, and cloud APIs—but strip away the code, and you’re left with that same 19th-century electromagnet principle. Building one yourself isn’t retro cosplay; it’s foundational literacy for anyone serious about audio tech.
Step-by-Step: How to Build a Simple Speaker
What You’ll Need
- Neodymium disc magnet (12–20mm diameter, N35+ grade)
- Enameled copper wire (30–34 AWG, ~50 ft)
- Paper or plastic cup (rigid walls, ~8 oz)
- Audio cable with 3.5mm plug (cut one end open)
- White glue or hot glue gun
- Sandpaper (fine grit)
- Scissors and tape
Step 1: Make the Voice Coil
Wrap the enameled wire tightly around a AA battery 40–50 times to form a coil. Slide it off gently—don’t let it unravel! Leave 3-inch leads on both ends. Use sandpaper to scrape enamel off the last ½ inch of each lead (this lets electricity flow).
Step 2: Attach the Coil to the Diaphragm
Cut the bottom off your cup. Glue the voice coil flat against the center of the cup’s base (now your diaphragm). Let dry completely. The coil must sit freely—not touching the magnet yet.
Step 3: Mount the Magnet
Glue the magnet directly beneath the coil, inside the cup. It should hover close (~1–2 mm) without touching. This gap is where magic happens: when audio current flows, the coil becomes an electromagnet that pushes/pulls against the static magnet, vibrating the cup.
Step 4: Wire It Up
Strip your audio cable. Twist one lead to the left channel wire (usually red), the other to ground (copper braid). Connect these to your voice coil leads with tape or solder. Plug into your phone’s headphone jack.
Step 5: Test & Tune
Play music at low volume. If you hear faint sound—congrats! To improve output:
– Seal gaps with glue (air leaks kill efficiency)
– Try stiffer cones (cardstock > paper cup)
– Use stronger magnets (N52 neodymium works wonders)
5 Pro Tips That Actually Matter (No Fluff)
- Never skip enamel removal: Enamel is insulation. No bare copper = no circuit = silent speaker.
- Low voltage only: Headphone jacks output ~1V—safe for DIY. Mains power (120V/230V)? Instant fire risk. Don’t even think about it.
- Enclosure shape affects tone: Cylindrical cups emphasize midrange; conical shapes (like funnels) boost highs.
- More coil turns ≠ louder: Too many turns increase resistance, reducing current. 40–60 turns is the sweet spot for small drivers.
- Test with sine waves: Use a tone generator app (e.g., “Frequency Generator” on Android) starting at 100Hz. Easier to diagnose resonance issues than with complex music.
Real Project Example: My Coffee Can Speaker That Played Bowie
Last winter, I challenged myself to build a speaker using only items from my recycling bin. I grabbed an empty Folgers can, a fridge magnet (weak, but free), and salvaged wire from an old Ethernet cable.
First try? Total flop. The steel can shielded the magnetic field—sound was muffled. Lesson learned: ferrous metals near magnets distort fields. Switched to an aluminum soda can (non-magnetic), and suddenly David Bowie’s “Space Oddity” crackled through with eerie clarity.
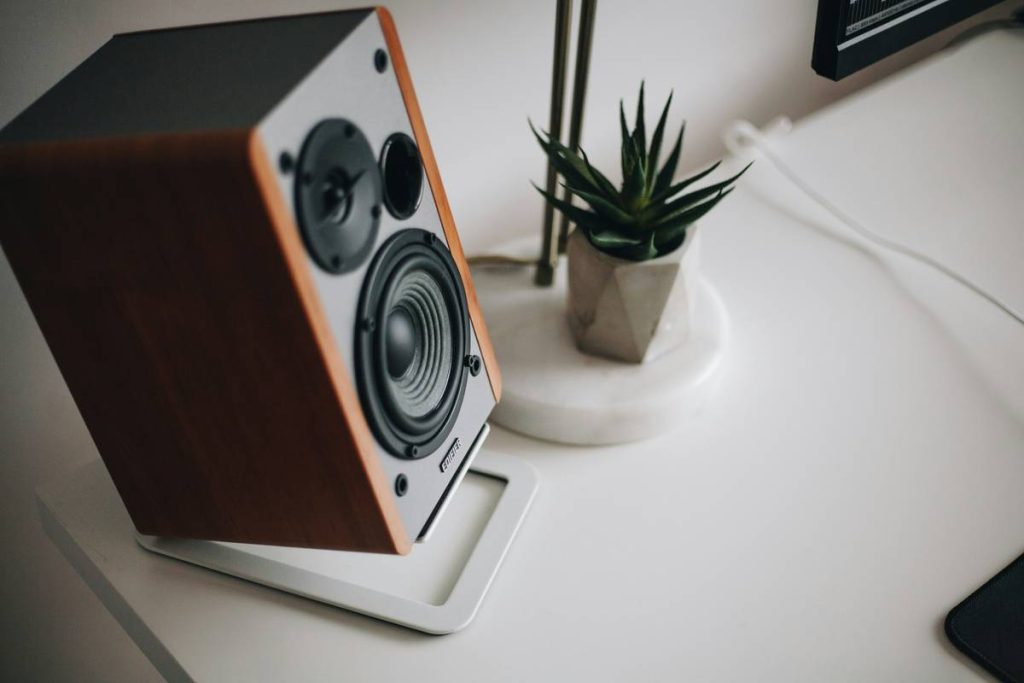
After adding a cardboard cone glued to the can’s opening and upgrading to a $2 N42 magnet from Amazon, volume doubled. It still won’t fill a room, but it taught me why commercial speakers use rigid polymer cones and vented enclosures: uncontrolled resonance creates distortion.
Moral? Your DIY speaker won’t replace Alexa—but it’ll give you respect for the engineering inside that sleek cylinder on your shelf.
FAQs About DIY Speakers
Can I connect my DIY speaker to Bluetooth?
Not directly. You’d need a Bluetooth receiver module (like HC-05) powered by USB, which adds complexity. For simplicity, stick to wired audio until you’re comfortable with circuits.
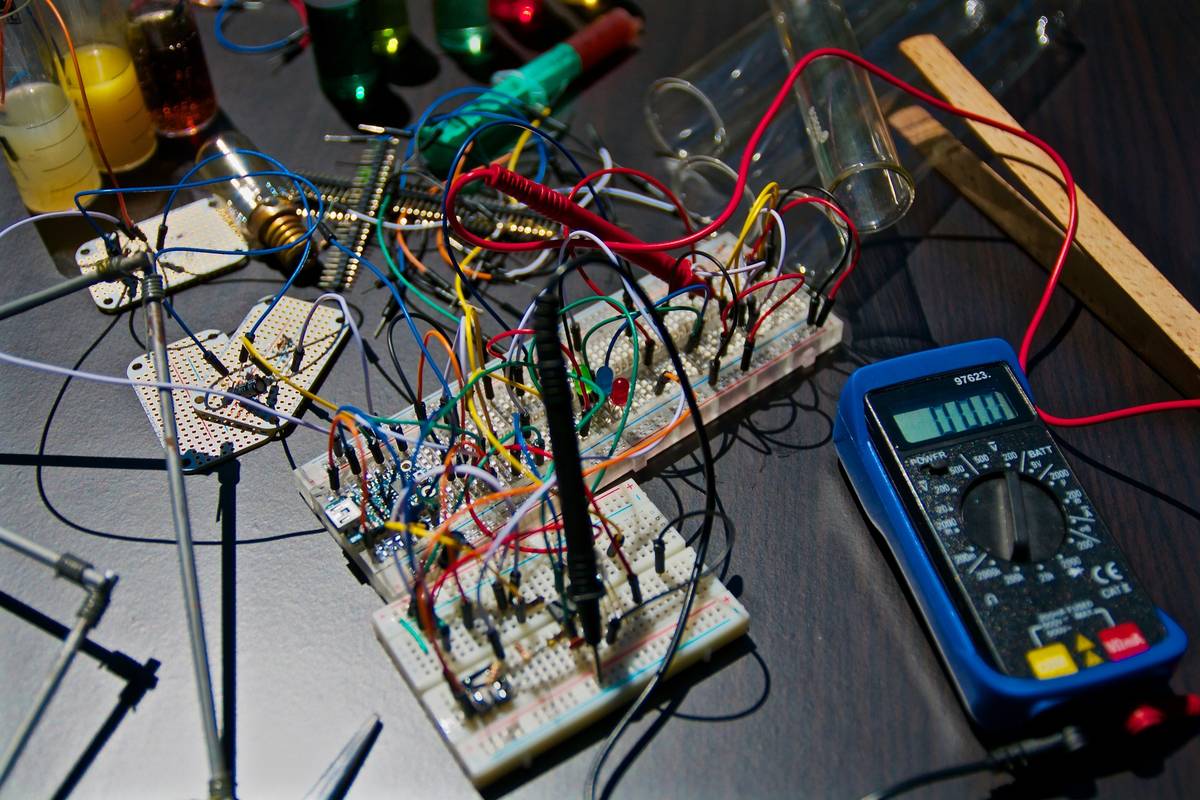
Why is my speaker only making quiet buzzing noises?
Likely causes: enamel not fully sanded off leads, coil shorting against magnet, or insufficient magnet strength. Test continuity with a multimeter.
Is it safe to use with my phone?
Yes—if you’re using the headphone jack. These output low power (under 50mW). Never connect to speaker-level outputs (like amplifier terminals), which can fry your coil or phone.
Can I make stereo sound with two DIY speakers?
Absolutely! Build two identical units and connect left/right channels separately. Just ensure coils are wound the same direction to maintain phase alignment.
Will this teach me anything useful for smart home tech?
Indirectly, yes. Understanding transducers (devices converting energy forms) helps troubleshoot mic/speaker issues in smart devices. Plus, you’ll never take your Echo’s clarity for granted again.
Conclusion
So—how to build a simple speaker? With curiosity, $10 in parts, and willingness to fail (then fix). You’ve now got the physics, the steps, and blunt truths most tutorials hide. Remember: this isn’t about competing with Bose. It’s about hearing the invisible dance of electrons and magnetism with your own ears.
Go glue that coil. Scrape that wire. And when your coffee can whispers “Ground control to Major Tom,” you’ll know exactly why.
Optimist You: “I built a speaker from trash!”
Grumpy You: “Ugh, fine—but only after triple-checking those coil leads.”
Like a Tamagotchi, your DIY speaker needs patience—not neglect. Feed it clean signals, seal its gaps, and it might just sing back.